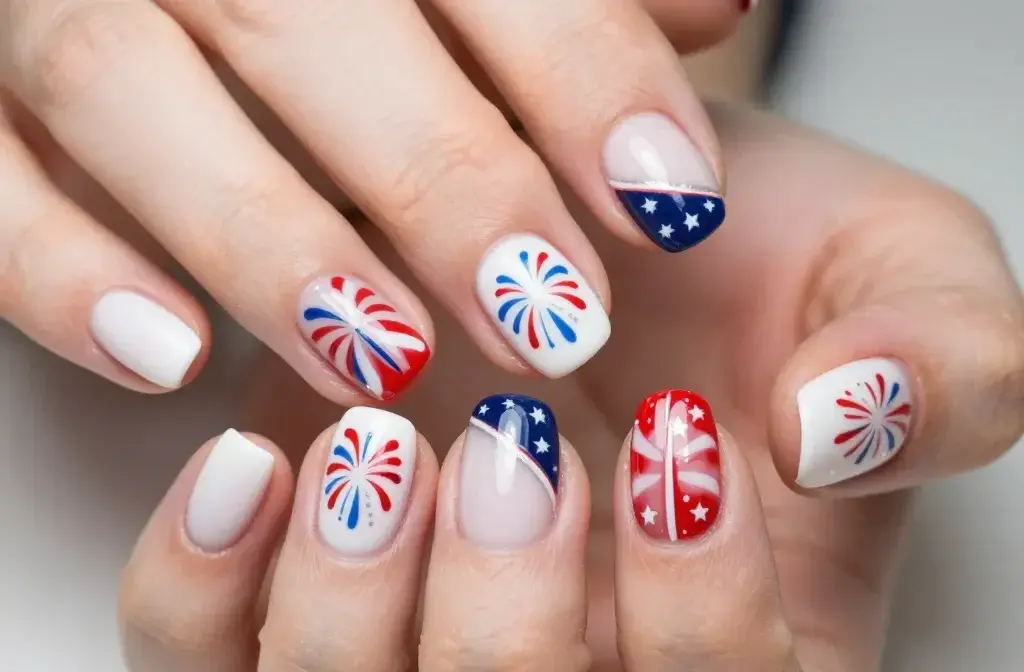
If you want standout red, white, and blue nails without a drama-filled DIY session, you’re in the right spot. I’m breaking down five super simple designs inspired by a creator’s quick-fire nail art tutorial. Grab your polishes, a few brushes, and your favorite playlist—we’re making fireworks for your fingertips.
Design 1: Firework Stripes in Red, White, and Blue
This look starts with a clean base and builds fireworks-inspired lines that radiate up the nail.
– What you’ll need
– White lacquer for the base (pinky, two coats)
– Red, navy blue, and silver acrylic paints for the lines
– How to do it
– Paint two coats of white on the pinky (or as your base color).
– Using a fine brush, paint short red lines starting near the bottom and moving upward in a staggered pattern.
– Add blue lines in between the red lines to create a balanced “burst” look.
– Finish with a few silver lines crisscrossing the design and touch up some red/blue lines for even distribution.
– Pro tips
– Keep your strokes light and steady—these aren’t full fireworks, just the essence.
– If you mess up, a quick wipe with acetone on a small brush trims the edges nicely.
Design 2: Classic American Flag Accent Nail
This one looks tricky but is surprisingly straightforward with simple color blocking and tiny stars.
– What you’ll need
– A dark metallic blue for the top half (ring finger diagonal)
– A deep red for the bottom half
– White acrylic paint for stripes
– Tiny white stars (or use a stamping plate if you’re feeling fancy)
– How to do it
– Create a diagonal split on the ring finger: top half blue, bottom red.
– Paint white stripes along the red portion to echo the flag’s stripes.
– On the blue half, add tiny white stars to finish the flag vibes.
– Pro tips
– Use a small, steady hand for the stars. If freehand stars aren’t your thing, a star stamping plate can save you time and drama.
Design 3: Night Sky Fireworks
Think navy backdrop with fireworks bursting in silver and red—dramatic but simple.
– What you’ll need
– Navy blue for the base (middle finger)
– Red acrylic paint for bursts
– Silver acrylic paint for sparkle
– How to do it
– Paint two coats of navy blue on the middle finger.
– Weld up little firework bursts by drawing short red lines that sprout outward in a spiral feel.
– Layer silver paint over some bursts to add sparkle and depth.
– Pro tips
– Vary the burst lengths so it looks like a real sky full of sparks. Don’t worry about perfection—uniqueness is the point here.
Design 4: American Drip Nail with Glitter Drips
A fun, contemporary take that combines drips, stripes, and a glittery finish.
– What you’ll need
– Spicy red shade (a shimmery bright red) for the base
– White acrylic for stripes
– Aqua blue for the blue drip, plus navy to deepen if needed
– Sparse holographic glitter (glitter top coat works too)
– How to do it
– Paint the pointer finger with a single coat of the red shade.
– Draw vertical white stripes down the nail to echo flags’ lines.
– For the blue drip, place a dotting-tool drip at the bottom and pull it upward; mix a touch of navy to darken as needed.
– Top with a sparse glitter coat to mimic twinkling stars.
– Pro tips
– Layering: let each layer dry so your drips don’t smear.
– Glitter placement should feel intentional, not chaotic—think “sparse but punchy.”
Design 5: American Flag Ombre with a Starry Fade
This is an artfully imperfect take on the flag, blending red, blue, white, and a starry night.
– What you’ll need
– Red and navy blue polishes (for the gradient/ombre)
– White acrylic paint for the middle section and stars
– A small sponge for the ombre effect
– A stamping plate or freehand stars using white polish
– How to do it
– Create an ombre with red on the top half and navy blue on the tip, leaving a white stripe in the middle.
– Sponge on the white fade so it looks softly blended rather than harsh.
– Add white stars on the blue area using a stamping plate, then fill in any gaps by dabbing a few individual stars by hand.
– Pro tips
– The sponge technique gives a smooth transition. Don’t rub too aggressively—you want a delicate fade, not a muddy mess.
Deep Dive: Finishing Touches and Top Coats
This is where your nails go from nice to wow.
– What to choose
– A super shiny top coat that dries clear and hard is your best friend here.
– Application tips
– Apply thin, even coats and cap the free edges to prevent chipping.
– If you’re running low on top coat, it’s okay to mix in a drop of clear nail polish thinner—this can help preserve gloss and prevent shrinkage.
– Pro tips
– Do a light cleanup around the cuticle after your topcoat to maintain a crisp, salon-like finish.
FAQ
Do I need professional tools to recreate these designs?
Not at all. A few basic tools work wonders: a fine brush for lines, a dotting tool for stars or drips, and a sponge for gentle ombre. If you don’t have a stamping plate, you can freehand stars with white polish—practice makes perfect.
Which colors are essential for a patriotic manicure?
The trio you’ll rely on is red, white, and blue. If you want a deeper, more metallic look, choose a navy or midnight blue, and add a glittery top coat for extra sparkle.
How do I fix mistakes without starting over?
Keep some acetone and a thin brush handy. Dip lightly to clean up edges or remove stray lines. If you mess a section, let it dry, then repaint over it. Patience helps here—these designs aren’t meant to be rushed.
Can I adapt these for a shorter nail or shorter nails?
Absolutely. Many of these designs scale down—just thin the lines and keep star details smaller. The key is to maintain balance: don’t overcrowd a short nail with too many elements.
What’s the best order to apply these designs on a full set?
Start with a neutral or white base on nails where you’ll do heavy details, then tackle the bold color blocks (blue and red) first. Add stripes, stars, and drips after the base colors dry. Finish with top coat on all nails for a cohesive look.
Conclusion
There you go—five easy, eye-catching 4th of July nail designs you can whip up at home without pulling your hair out. Whether you go all-in with a full flag set or mix in a few accent nails, these looks celebrate the holiday with bold color and playful textures. FYI, you don’t have to be a nail art pro to pull this off; even small, deliberate strokes can look stunning. So pick your favorite design, gather your polishes, and show off those fireworks—fingerstyle edition. Have fun, and happy Fourth of July!
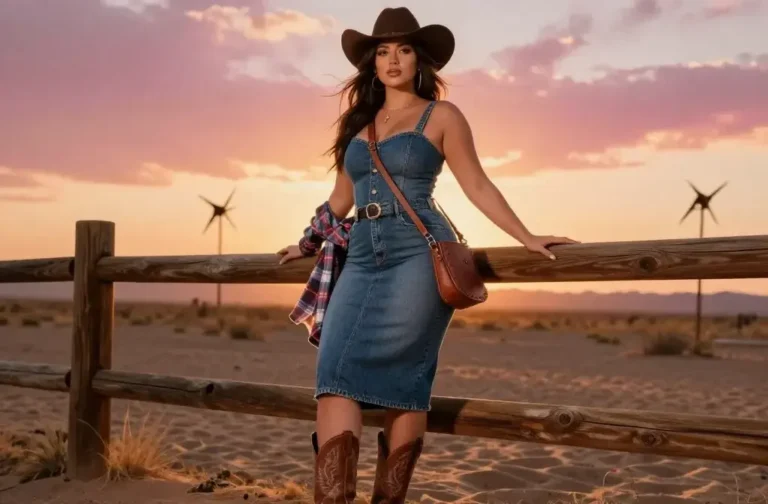
Ready to rustle up some serious style? These cowgirl looks prove that bold western vibes work beautifully on curvy frames. Each outfit wedges in comfort, confidence, and a wink of glam. FYI, you’ll want to wear these everywhere. 1. Cozy Plaid Charm With Modern Western Flair You may also like: Disclosure: As Amazon Associates, we…
These looks are equal parts sharp and spooky, perfect for when you want to flex editorial edge without screaming at the world. Think clean lines, satin textures, and just a whisper of witchy vibes. FYI, you’ll actually want to wear these to every meeting, bar crawl, and late-night studio session. 1. Corporate Midnight Suit With…
These outfits are built for busy classroom days and casual after-school coffee runs. Expect flattering fits, smart layering, and a touch of fun that won’t quit when the bell rings. FYI, you deserve looks that move with you, not a suitcase of wardrobe woes. 1. Classic Cardigan & Midi Skirt Ensemble That Feels like a…
You’re saying “I do” to style as confidently as you say it to your sweetie. These casual courthouse-appropriate outfits prove you can look polished without feeling stiff. Let’s dive into seven effortlessly cool looks you’ll actually want to wear again and again. 1. Modern Midi Dress + Tailored Blazer” That Brings the Courtroom Vibe to…
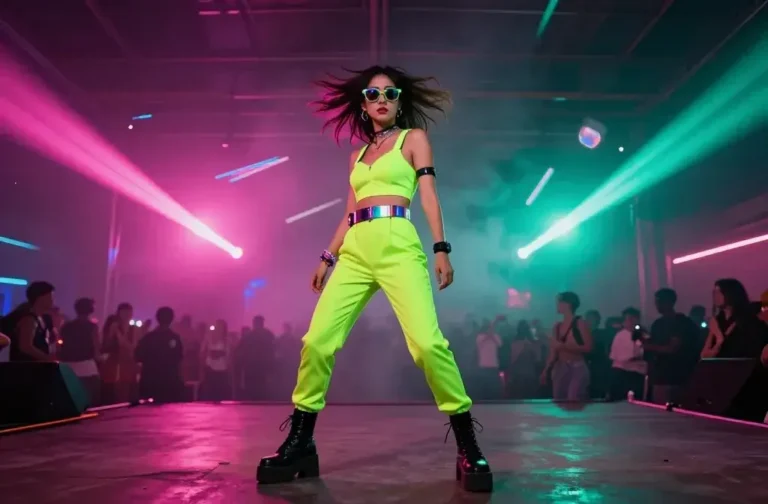
Get ready to glow from dusk till dawn with outfits that scream techno energy and festival-ready flair. These looks are as fearless as the bass drops and as comfy as a midnight glow stick moment. FYI, you’ll want to wear every single one twice this season. 1. Neon Mirage Jumpsuit With Iridescent Accents This outfit…
Ready to slay with looks that are as affordable as they are fierce? These seven Amazon finds come together into baddie-worthy outfits you can copy-paste into real-life moments. FYI, you’ll want to pair each set with confidence and a sprinkle of attitude. 1. Sleek Leather Moment With Urban Edge You may also like: Disclosure: As…